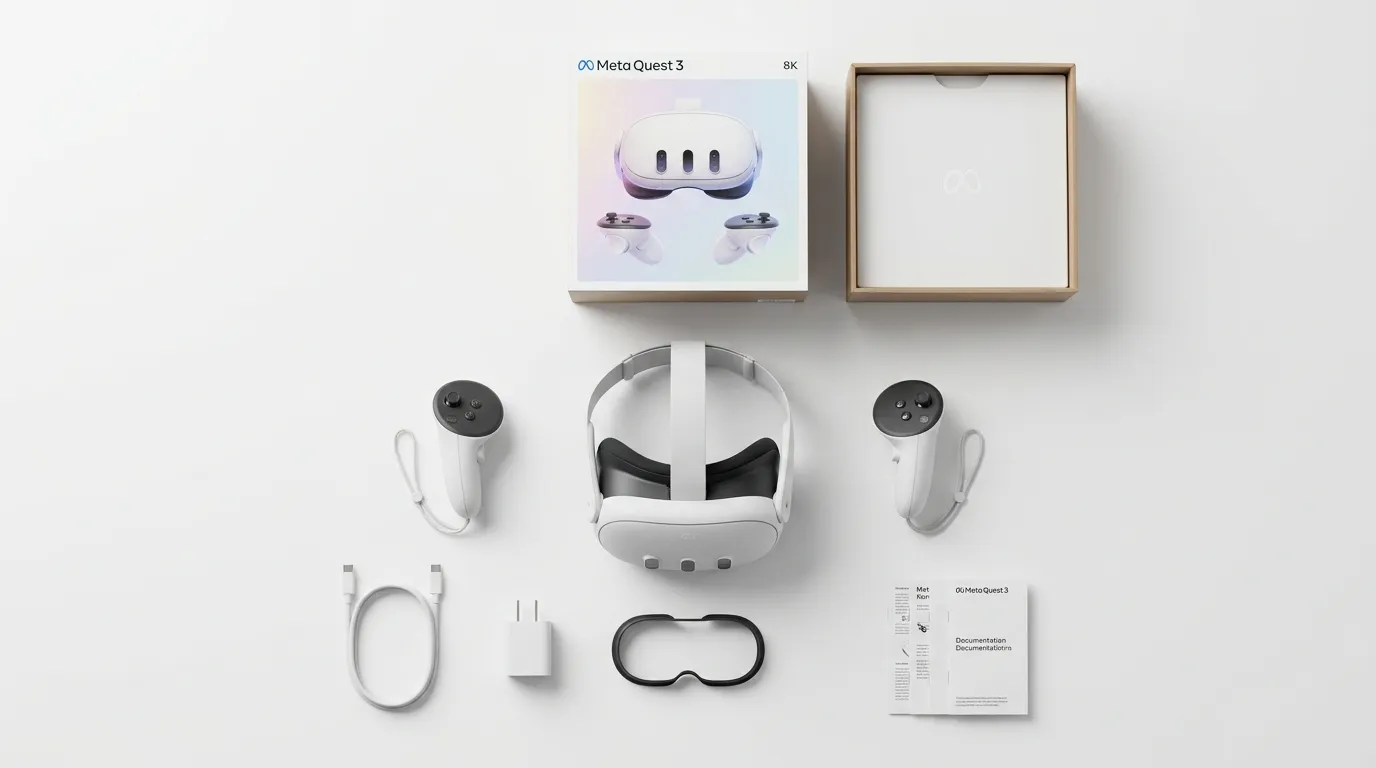
Module 6: Solving Common VR Problems in the Classroom
Clear, step-by-step solutions to the most common technical issues that may arise during a VR lesson.
Wi-Fi connection problemsEssential
WiFi issues are the most common VR headset problem in schools. A dropped connection can stall an entire lesson, so knowing the fix sequence saves valuable class time.
Problem
- Headset won't connect to WiFi, or the connection drops repeatedly during use
Quick Check
- Is WiFi enabled in Quick controls?
- Is the correct network selected?
- Is the signal strength at least two bars?
Solution Steps
- Toggle WiFi off, wait ten seconds, toggle back on
- Forget the network, then reconnect by entering the password again
- Restart the headset — this clears most transient connection errors
If Still Not Working
- Try connecting to a phone hotspot to confirm the headset's WiFi hardware works
- Ask IT whether the school network blocks VR headset traffic or requires a captive portal login
"A dedicated router for headsets avoids most school-network conflicts."
 Click to enlarge
PINs, access codes, and account issuesReference
PIN and access code errors prevent students from entering the headset entirely. Resolving them quickly keeps the lesson on schedule.
Problem
- Cannot enter PIN on the unlock screen, or the code is rejected despite appearing correct
Quick Check
- Is this the correct Meta account linked to this headset?
- Has the PIN been changed recently by another teacher or administrator?
Solution Steps
- Open the Meta app on a paired phone and verify the account associated with the headset
- Use the "Forgot PIN" flow in the Meta app to reset the headset unlock code
- For institutional accounts, check with the account administrator — bulk-managed headsets often use a shared PIN that rotates
If Still Not Working
- Log in to the Meta account on a browser and reset the password, then re-link the headset
- Contact Meta support if the account is locked or flagged
"Keep a printed card in each headset case with the current PIN — update it whenever it changes."
Boundary (Guardian) setup problemsEssential
The Boundary (formerly Guardian) system uses the headset's cameras to map your physical space. When it fails, students cannot proceed past the setup screen.
Problem
- Boundary refuses to set up, keeps resetting, or shows a "tracking lost" warning
Quick Check
- Is the room well-lit? Dim lighting is the most common cause
- Are there mirrors, large windows, or reflective surfaces nearby?
- Is the play area clear of obstacles?
Solution Steps
- Turn on additional lights — the cameras need consistent, even illumination
- Cover or avoid mirrors and highly reflective surfaces that confuse the tracking cameras
 Click to enlarge
- Redraw the boundary from scratch: go to Settings → Environment setup → Boundary → Clear Boundary History
- Make sure the floor is visible and not a single uniform colour
If Still Not Working
- Switch to Stationary Boundary mode, which requires less room mapping
- Clean the headset's external cameras with a dry microfiber cloth
"Set up Boundary before students arrive — it saves five minutes of class time."
Headset not turning onEssential
A headset that won't power on is alarming but usually has a simple fix related to battery or a frozen system.
Problem
- Pressing the power button produces no response — no display, no LED, no sound
Quick Check
- Is the charging LED lit when you plug in the cable? (Orange = charging, green = full)
- Have you held the power button for a full three seconds?
 Click to enlarge
Solution Steps
- Connect the headset to its charger and wait at least fifteen minutes before trying again
- Try a different USB-C cable — damaged cables are a frequent culprit
- Force restart: hold the power button and volume-down button simultaneously for thirty seconds, then release
If Still Not Working
- Check the charging port for lint or debris and clean gently with a dry toothpick
- Try a different power adapter — some low-wattage chargers cannot power the headset
"Charge headsets overnight before class day. A dead headset is a preventable problem."
 Click to enlarge
Login and authentication issuesReference
Login failures block access to apps and content. The cause is usually a credential mismatch between the headset and the Meta account system.
Problem
- Headset shows a login screen but rejects the email, password, or two-factor code
Quick Check
- Is the email address spelled correctly, including the domain?
- Is the account actually linked to this specific headset?
Solution Steps
- Verify the account credentials by logging in on a phone or browser first
- Open the Meta app on the paired phone and confirm the headset appears under Devices
- If two-factor authentication is enabled, ensure the phone receiving codes is nearby
- For institutional accounts, confirm with the admin that the account is still active
If Still Not Working
- Reset the password via the Meta account recovery page
- Remove the headset from the account and re-add it through the Meta app setup flow
"Test every login the day before a VR lesson — never discover a problem in front of students."
Cloud streaming lag and performanceReference
Cloud-streamed VR apps depend entirely on network speed. Lag and stuttering make the experience unusable and can cause motion discomfort.
Problem
- App visuals stutter, freeze, or show visible compression artifacts during use
Quick Check
- Is the internet speed at least 50 Mbps download? Run a speed test on the same network
- Are other devices consuming bandwidth on the same network?
Solution Steps
- Reduce network traffic: pause downloads, streaming, and updates on other devices
- Move the headset closer to the WiFi router or access point
- Switch to a 5 GHz WiFi band if available — it offers faster speeds with less interference
- Download the app to the headset instead of streaming it, if a local version is available
If Still Not Working
- Connect the router directly to the school's main network drop with an Ethernet cable
- Schedule VR sessions during off-peak network hours when fewer users are online
"Downloaded apps always outperform streamed ones. Download whenever possible."
Software and system update issuesReference
Failed or stuck updates can leave a headset in an unusable state. Patience and the right conditions solve most update problems.
Problem
- Update downloads but fails to install, gets stuck at a progress percentage, or restarts without completing
Quick Check
- Is the battery above 50%? Updates will not install on low battery
- Is the WiFi connection stable and fast?
- Is there enough storage space? Check Settings → Storage
Solution Steps
- Plug in the charger and connect to a strong WiFi network before retrying
- Force-check for updates: go to Settings → System → Software Update → Check for Update
- If stuck, restart the headset and let it attempt the update again automatically
- Free up storage by deleting unused apps or media if space is low
If Still Not Working
- Leave the headset plugged in and connected to WiFi overnight — some updates install during idle time
- If the headset is completely stuck, perform a force restart (power + volume-down for 30 seconds)
"Never start a class with a headset mid-update. Check for updates the day before."
Casting failuresEssential
Casting lets you share a student's VR view on a screen or browser so the class can see what they see. When it fails, you lose that shared visibility.
Problem
- Casting will not start, disconnects repeatedly, or shows a black screen on the receiving device
Quick Check
- Are the headset and receiving device on the same WiFi network?
- Is the receiving device a supported Chromecast, smart TV, or browser?
Solution Steps
- Start casting from the headset side: go to Quick controls → Cast → select the target device
- Restart both the headset and the receiving device
- If using browser casting, open horizon.meta.com/casting in Chrome on the same network
- Try casting via the Meta app on a phone as an alternative path
If Still Not Working
- Check router settings — some networks isolate devices from each other (AP isolation), which blocks casting
- Use a screen-mirroring app on a laptop connected via USB as a wired fallback
"Test casting to your classroom screen before students arrive. It takes thirty seconds."
 Click to enlarge
Factory reset procedures (last resort)Reference
A factory reset erases everything on the headset and returns it to out-of-box state. It is the last resort when nothing else works.
Problem
- Persistent crashes, unresolvable errors, or a headset stuck in a boot loop after all other troubleshooting has failed
Quick Check
- Have you tried every other relevant fix in this module first?
- Have you backed up any important data, saved games, or app configurations?
Solution Steps (Software Method)
- Go to Settings → System → Factory Reset → confirm
- The headset will restart and erase all data — this takes several minutes
Solution Steps (Hardware Method — if headset won't boot)
- Power off the headset completely
- Hold power + volume-down until the boot menu appears
- Use the volume buttons to navigate to "Factory Reset" and press the power button to confirm
After Reset
- You will need to re-pair the headset with a phone, log in, set up Boundary, and reinstall all apps
- Re-download any apps and reconfigure institutional settings
"Factory reset fixes almost everything — but it also erases everything. Use it only when you must."
Pairing and unpairing controllersReference
Unresponsive controllers leave students unable to interact with VR content. The fix is usually batteries or a re-pairing step.
Problem
- Controller does not respond to button presses, is not tracked by the headset, or shows as disconnected
Quick Check
- Are the batteries fresh? Weak batteries cause intermittent disconnections
- Is the controller listed under Settings → Devices → Controllers?
Solution Steps
- Remove the batteries, wait ten seconds, then re-insert them firmly
- Re-pair the controller: go to Settings → Devices → Controllers → Pair New Controller and follow the on-screen instructions
- If the controller was previously paired to a different headset, unpair it there first
- For a brand-new controller, follow the first-time pairing flow during headset setup
If Still Not Working
- Try known-good batteries from a working controller to rule out a battery issue
- Check for physical damage — a dropped controller may have a loose battery contact
"Keep spare batteries in every headset case. Dead controllers are the most common mid-lesson interruption."
Visual issues: blurry or distorted imagesReference
Blurry or distorted visuals reduce immersion and cause eye strain. The fix is almost always physical adjustment, not a software setting.
Problem
- Image appears blurry, has a foggy haze, or looks distorted around the edges
Quick Check
- Is the headset sitting correctly on the face, with the lenses centred over the eyes?
- Is there still a protective plastic film on the lenses?
Solution Steps
- Adjust the head straps so the headset sits snugly without pressing too hard on the face
- Move the headset slightly up and down on the face until the image sharpens — the "sweet spot" is when text becomes crisp
- Adjust the IPD (interpupillary distance) slider or setting to match the student's eye spacing
- Clean the lenses gently with a dry microfiber cloth — no liquids, no paper towels
If Still Not Working
- Check for scratches on the lenses — scratched lenses permanently degrade image quality
- Some students may need to wear their glasses inside the headset; use the glasses spacer if available
"Spend thirty seconds adjusting fit before each session. A well-fitted headset makes everything look better."
 Click to enlarge
A calm, structured troubleshooting mindsetEssential
Technical problems in a VR lesson are inevitable. Your response to them determines whether the class learns or loses momentum.
The Calm Approach
- Stay calm — students mirror your reaction. If you treat the problem as routine, they will too
- Most VR issues resolve with a simple restart. Try that first before investigating further
- Do not spend more than two minutes troubleshooting a single headset during class — swap it for a spare or move the student to a partner
Have a Plan B Ready
- Prepare a non-VR backup activity that covers the same learning objective
- A short discussion, worksheet, or video clip can fill the gap while you fix the headset after class
- Rotate students through fewer working headsets rather than waiting for all to be fixed
Keep Perspective
- The learning objective matters more than the technology. A lesson without VR can still succeed
- Document recurring issues so you can fix them before the next session
- Every tech hiccup you solve makes the next VR lesson smoother
"The best VR teachers are not tech experts — they are prepared for when tech fails."
 Click to enlarge